

Win10安装Active Directory步骤
时间:2019-01-02 13:11:37 作者: 点击:次
在Windows系统下,Active Directory提供了一系列集中组织管理和访问网络资源的目录服务功能,为大家带来了许多方便,但是Win10下默认该功能是未安装的,那么我们如何在Win10系统下安装Active Directory功能呢?其实很简单打开或关闭Windows功能中就可以。
操作方法如下:
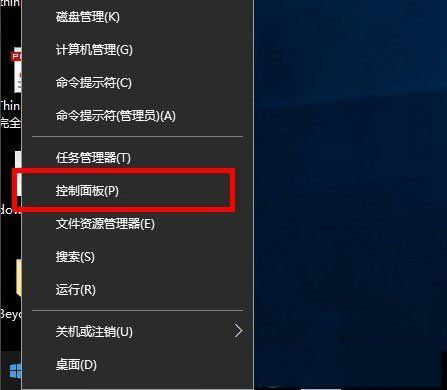
1、在电脑桌面左下角处点击鼠标右键,选择控制面板选项;(注意:新版Win10已经没有该菜单了,可以在任务栏搜索框搜索控制面板来打开)
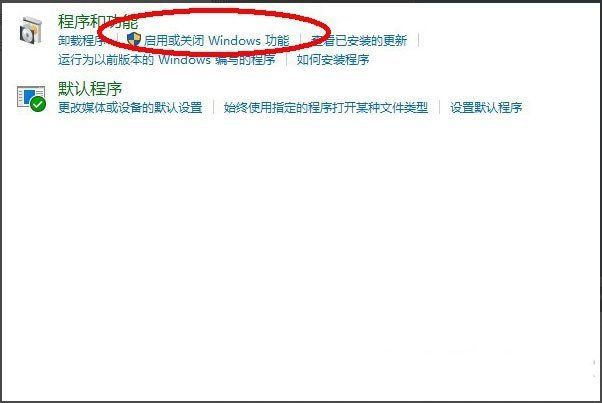
2、在控制面板中,找到程序/卸载程序,点击标题的程序;

3、点击完程序后,来到了程序和功能选项,点击启用或关闭Windows功能;
4、在功能列表中找到Active Directory轻型目录服务,勾选后再点击下面的确定,如下图所示:

5、点击完确定后,稍等片刻,窗口显示Windows已完成请求的更改,,这时就已经安装上了,然后点击关闭窗口;

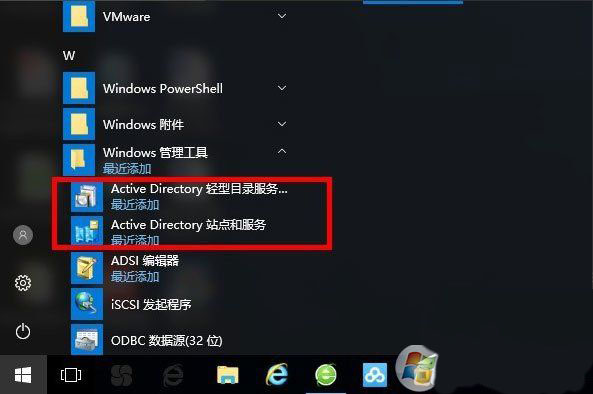
6、最后,在开始菜单中,找到最近增加的管理服务中,找到Active Directory轻型目录服务就可以了。
注意,安装的时候一定要连接网络,不然不能添加新功能哦。
win10技巧 - 推荐


Win10专业版下载排行
 【Win10 纯净版】秋叶系统32位下载 v2025
 【Win10 纯净版】秋叶系统64位下载 v2025
 【Win10 装机版】秋叶系统32位下载 v2025
 【Win10 装机版】秋叶系统64位下载 v2025
 雨林木风 Windows10 32位 官方专业版 V20
 雨林木风 Windows10 22H2 64位 V2025.02(
 系统之家 Win10 32位专业版(免激活)v2025.0
 系统之家 Win10 64位专业版(免激活)v2025.0
 番茄花园Windows 10 专业版32位下载 v202
 番茄花园Windows 10 专业版64位下载 v202
Win10专业版最新系统下载
深度技术 Windows10 22H2 64位 新春稳定
深度技术 Windows10 32位 专业版 V2025.0
萝卜家园 Windows10 64位 优化精简版 V20
萝卜家园 Windows10 32位 优化精简版 V20
番茄花园Windows 10 专业版64位下载 v202
番茄花园Windows 10 专业版32位下载 v202
系统之家 Win10 64位专业版(免激活)v2025.0
系统之家 Win10 32位专业版(免激活)v2025.0
雨林木风 Windows10 22H2 64位 V2025.02(
雨林木风 Windows10 32位 官方专业版 V20
Win10专业版官网,国内顶级win10专业版官方网站。
Copyright (C) Win10zyb.com, All Rights Reserved.
win10专业版官网 版权所有 cd456@qq.com 备案号:沪ICP备16006037号-1
Copyright (C) Win10zyb.com, All Rights Reserved.
win10专业版官网 版权所有 cd456@qq.com 备案号:沪ICP备16006037号-1